

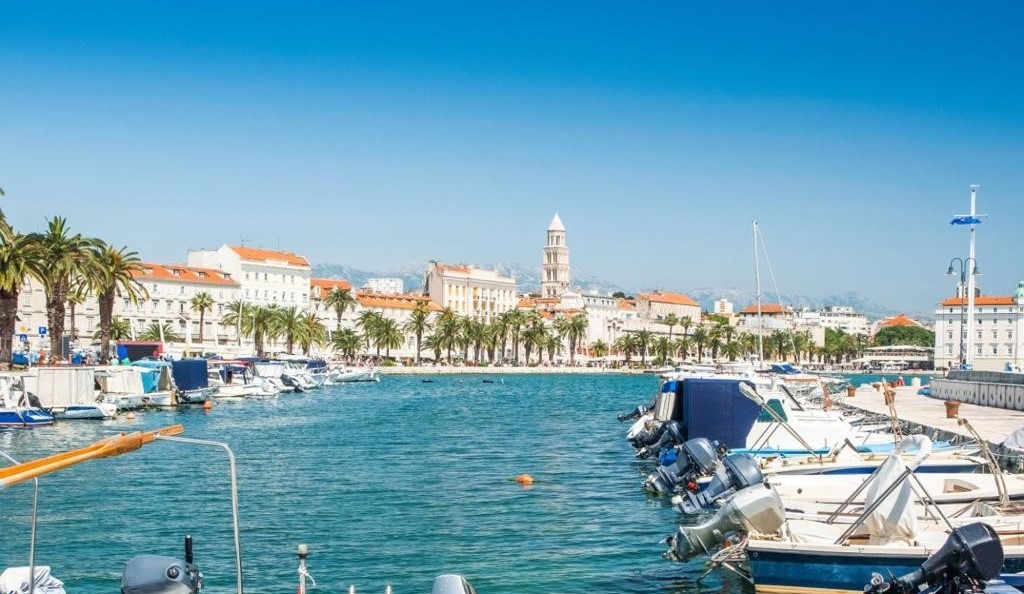
A week from Split rarely follows a fixed plan.
Even when you start with a route, weather, timing, and how the crew settles into life onboard shape each day differently.
This route through Brač, Hvar and Vis works because distances are manageable and alternatives are always nearby. It allows movement without pressure and leaves room to adjust when needed.
Route overview
Route: Split – Brač – Hvar – Vis – Pakleni Islands – Split
Duration: 7 days
Sailing distance: short to moderate daily legs (10–25 NM)
Experience level: suitable for first-time charterers with basic planning
Conditions: mostly protected, with one open crossing (Vis Channel)
Style: flexible route with reliable stops and alternatives
Day 1 — Split to Milna (Brač) (~10 NM)
The first day is shaped by logistics more than distance. Check-in, provisioning, and briefing take time, so a shorter leg makes the start easier.
Milna, on the west side of Brač, has long been known as a safe harbour. The Venetians called it “Valle di mille navi” — the bay of a thousand ships — and its protected position still makes it a reliable first stop.
The islet of Mrduja, about 2.5 miles west, is a useful reference point when approaching.
ACI Marina Milna offers around 170 berths with full services, making arrival straightforward.
The harbour stays quiet in the evening, with most activity centred around a few waterfront restaurants. The first day usually settles here rather than continues.
What to watch: afternoon arrival traffic in high season
Day 2 — Milna (Brač) to Jelsa (Hvar) (~22 NM)
This leg opens the route slightly, but remains predictable.
Jelsa is located on the north coast of Hvar and provides good shelter in most conditions, except strong northeast winds. The approach is simple, with no significant hazards.
Depths are around 6 m at the entrance and 3–4 m along the quay. Anchoring outside is possible in calm weather (7–8 m, sand and weed), but does not provide reliable overnight protection.
Jelsa works as a second stop because it extends the range without adding complexity.
The town spreads gently along the waterfront, without a defined centre of movement. Evenings are simple — a few cafés, local routines, and less intensity than larger destinations.
What to watch: exposure to NE wind (bura)
Day 3 — Jelsa to Stari Grad (Hvar) (~10 NM)
A shorter leg that slows the pace and gives more time ashore.
Stari Grad is one of the oldest settlements in the Adriatic. The harbour is calm and well protected, suitable for overnight stays.
Berthing is available along the town quay (around 60 mooring lines) with water and electricity. Mooring buoys are positioned outside the harbour (3–4 m depth).
The northern side of the harbour is shallow and requires attention when approaching.
The town doesn’t rely on movement. Its structure is older and more contained, and time ashore tends to stretch without a plan.
What to watch: shallow areas near the northern quay

Day 4 — Stari Grad to Komiža (Vis) (~25 NM)
This is one of the longer legs and introduces more exposure.
Komiža lies on the western side of Vis and is open to southern winds. The harbour has limited space (around 30 berths), and availability can be uncertain in peak season.
Anchoring is possible but complicated due to seabed chains from fishing boats. Most crews use the mooring buoys positioned around the breakwater (around 70 total).
Komiža feels closer to the sea than to tourism. Fishing boats still define the harbour, and the atmosphere is less adjusted to visitors.
What to watch: limited berths and southern exposure
Day 5 — Komiža to Vis (~12 NM)
The Vis Channel is the most open stretch of the route (around 6 NM crossing).
In summer, the maestral wind often strengthens during the day, creating short, choppy waves.
Vis harbour is a large, one-mile-deep bay. It accommodates many vessels but can be busy due to ferry and fuel traffic.
The most protected part of the harbour, Veli Mir, offers better shelter during unstable conditions.
Vis combines movement and pause — ferries, fuel stops, and quiet streets exist side by side.

Alternative stops near Vis
Stončica Cove
- sandy seabed
- shallow entrance
- protected from most winds except north
- depth: 5–15 m
Rogačić & Parja
- protected by peninsula
- Parja better from northern winds
- depths: 4–10 m
- quiet alternative close to town
What to watch: afternoon maestral in the channel
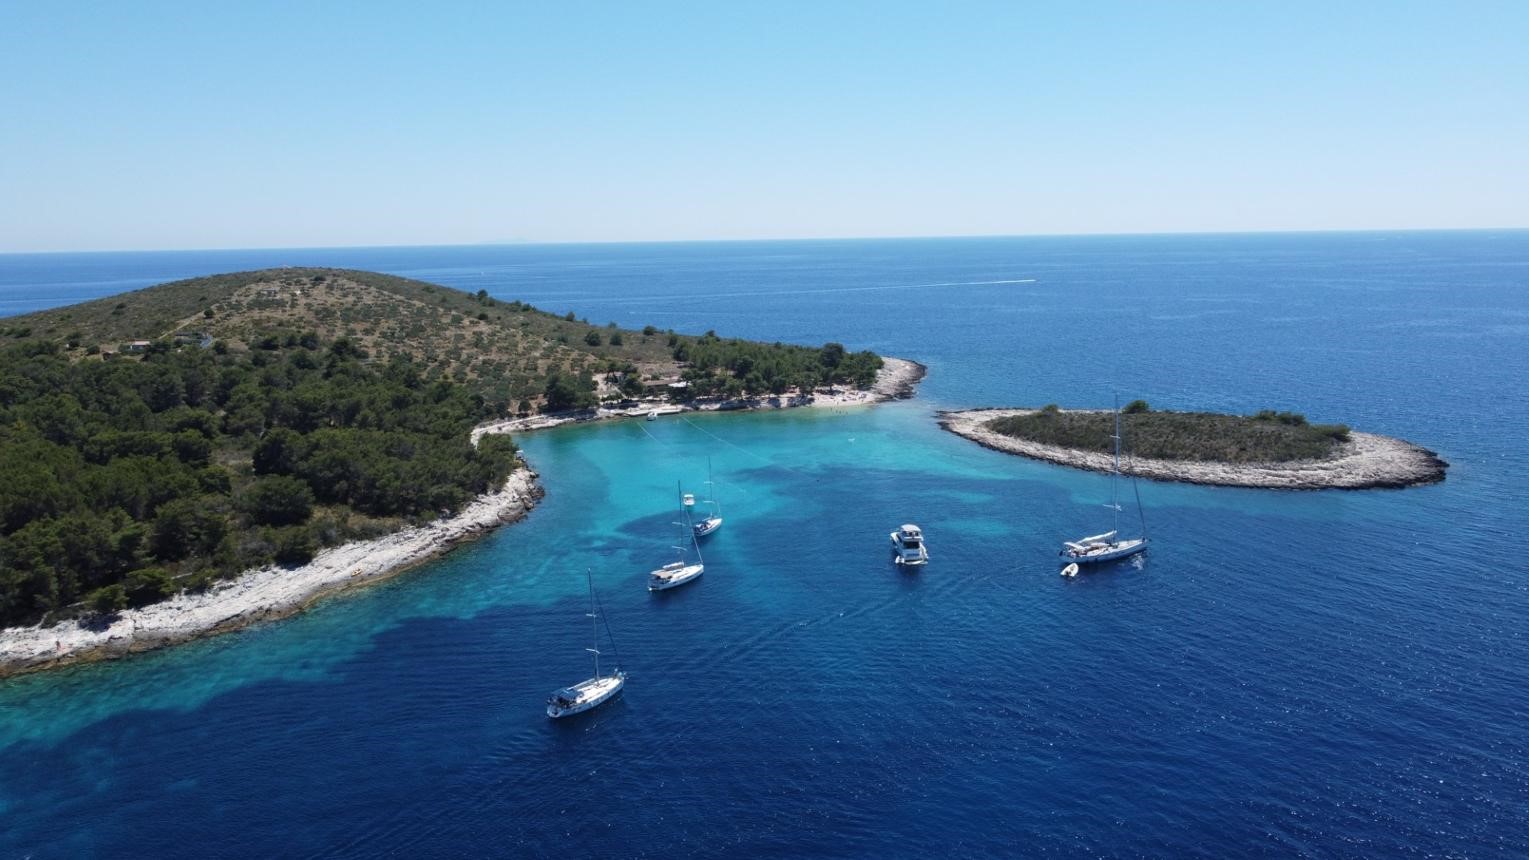
Day 6 — Vis to Palmižana (~18 NM)
Palmižana introduces a more active environment.
Located on St. Klement island, it is one of the main nautical hubs in the area. ACI Marina Palmižana offers around 180 berths and good protection from winds.
Its position allows easy access to nearby coves and beaches.
Occasional surge can occur during strong west or southwest winds.
The entrance is marked by Baba Rock — keep a safe distance when approaching.
The setting is more social, but it doesn’t have to be. A short walk away from the marina is often enough to step out of the activity.
What to watch: marina congestion in peak season
Day 7 — Palmižana to Split (~13 NM)
The final leg depends more on timing than navigation.
Fuel stops, marina procedures, and check-out define the day. Leaving early helps avoid delays.
The route back is simple, but the focus shifts toward completing the week smoothly.
Facilities along the route
- Milna: fuel, water, electricity, restaurants, ATM, market, laundry
- Jelsa: restaurants, ATM, exchange office
- Stari Grad: water, electricity, restaurants, buoys, market, ATM
- Komiža: buoys, restaurants, ATM, market
- Vis: fuel, water, electricity, restaurants, anchorage
- Palmižana: fuel, water, electricity, restaurants, market
What can change this route
Wind patterns such as bura and maestral influence timing and direction.
Marina availability often determines where you stay.
Crew dynamics shape the pace more than distance.
The route works because alternatives exist at every stage.
Operational Notes (for planning and navigation)
Milna – reliable shelter, strong fallback option
Jelsa – exposed to bura, anchoring limited
Stari Grad – shallow north side
Komiža – limited space, buoy use recommended
Vis Channel – afternoon wind builds
Vis Harbour – ferry traffic, Veli Mir best shelter
Stončica – shallow, better for day stop
Rogačić / Parja – good protected alternative
Palmižana – busy, watch entrance
Conditional Notes (when conditions change)
If strong bura develops:
Stay on Brač side longer or delay move to Jelsa.
If maestral builds early:
Cross toward Vis before midday to avoid steeper waves.
If Komiža is full:
Take a buoy immediately or continue to Vis the same day.
If Vis harbour is too busy:
Move to Rogačić or Parja for quieter overnight stay.
If Palmižana is overcrowded:
Use nearby Pakleni anchorages instead of marina.
What stays with most crews
What most crews remember is not a single stop, but the shift between them —
from sheltered bays to open passages, from quiet towns to more active harbours, and how the week gradually simplifies itself.
If you’re planning this route, share your dates, crew size, and experience level — we can adjust it based on real conditions and help you choose the right setup before you arrive.